6 Tips for taking over-under photos
Over-under photos in underwater photography are also called split-shots. In short, this is a type of photo where the top half is above water and the lower half is below water. It’s a creative and beautiful form of underwater photography that you can do in shallower waters. However, it’s also a challenging type of photography. Read on for all the essential tips you need to take epic over-under photos.
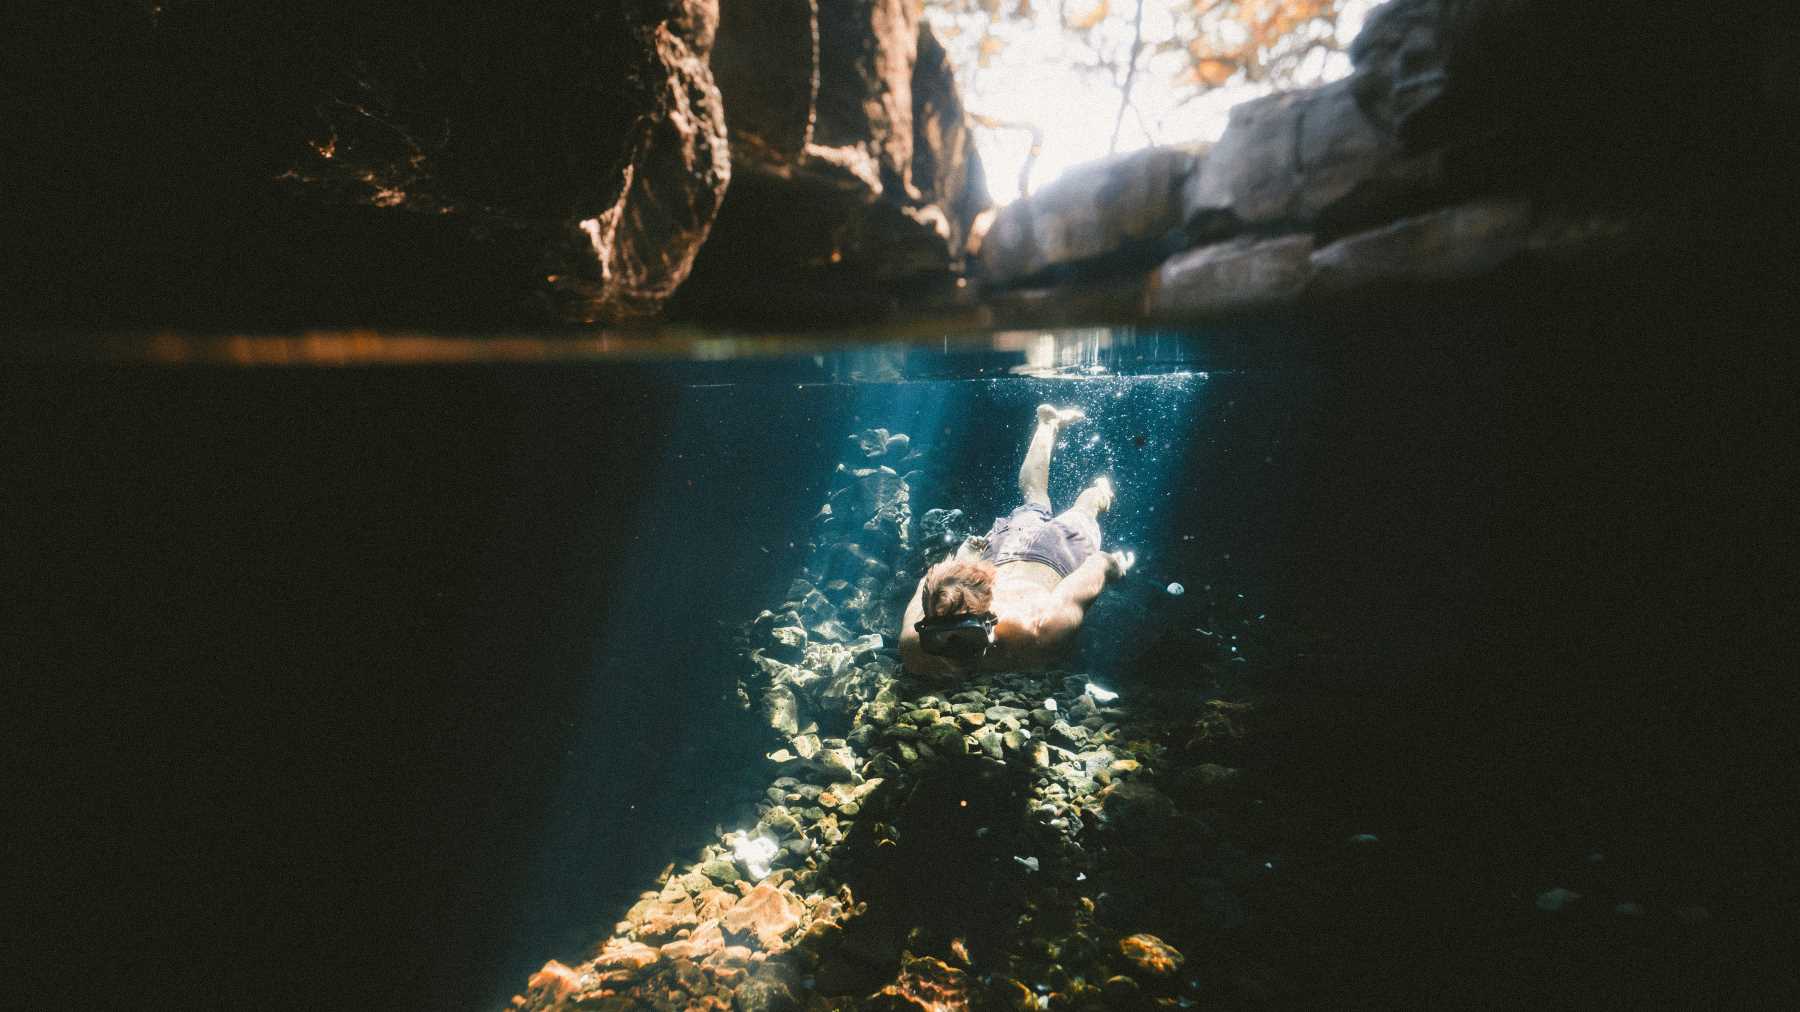
Master underwater photography whilst exploring the worlds most abundantly diverse tropical reefs
1. Choose the right conditions
To take the best over-under photos, make sure your shooting conditions are optimal. Don’t be lazy. Search for the right spot in the ocean, lake or river before attempting over-under photos. Also, make sure the tides and weather conditions are in your favour. Shoot on a sunny day so that there is enough light for both the above water and underwater scene to be visible. Strobes or other lights could help add some extra light to the bottom half of the photo.
Furthermore, shoot in clear and calm water where there is little or no wind. This is to ensure that the water isn’t too choppy for photos. The underwater subject should be fairly close and shallow. The surface of the water is usually very light and the bottom is dark. Diving in shallower waters will minimise this problem.
2. Use a wide-angle or fisheye lens
You should use a wide-angle lens to capture as much of the divided scene as possible. We recommend a lens of about 15mm or a fisheye lens. The warped or distorted effect that a fisheye lens causes can be a very aesthetic and creative image.
3. Focus on the subject underwater
Focusing on the underwater subject will help you with your composition and settings adjustments. For instance, your aperture, which is discussed in the next tip.
Download FREE eBook featuring 40 proven fundraising techniques to finance your next overseas experiential adventure
4. Have a small aperture
Make your f-stop higher (in other words, your aperture smaller) for a greater depth of field in your image. This will enable you to capture both the subject and part of the background in focus. You can use an aperture of between f/16 and f/22. It depends on your light conditions and how close you are to your focal point. The increased depth of field also makes up for the difference in focusing underwater and above the water. This is something you need to keep in mind in over-under photos.
5. Use a large dome port
It’s best to have a 7 to 8-inch diameter dome for your underwater camera housing. Water tends to magnify an object by about 25% when looking through a flat mask or port. Having a dome port fixes this magnification. What’s more, a large dome will ensure you to capture a larger part of the image scene.
6. Keep your dome port free of water drops
Glass ports shed water easier. For both glass and acrylic, however, you can use spit, soap or shampoo and a sponge to wash your port. Then, let it dry in the sun. This will get rid of the droplets on your dome. Also, make sure your dome doesn’t fog up while you’re trying to shoot over-under photos. Click here for a tutorial on how to prevent fog in your housing.
These tips will enable you to take amazing over-under photos or split-shots. When you haven’t taken these types of photos before, it’s best to try and find a calm lake or shallow dam or river to test it out. After this, you can move on to the bigger water bodies like rivers and, of course, the ocean. If you’d like to learn more about other photo skills underwater, take a look at our Underwater Photography program and join us for a month under the surface of the Indian Ocean.

Blogger Profile - Rouxne van der Westhuizen
Rouxne has an Honours degree in journalism and media studies. She specialises in wildlife conservation writing, travel journalism and blogging.
Kickstart your wildlife media career!
Find your perfect wildlife media speciality program