How to take fluorescent underwater photos and videos
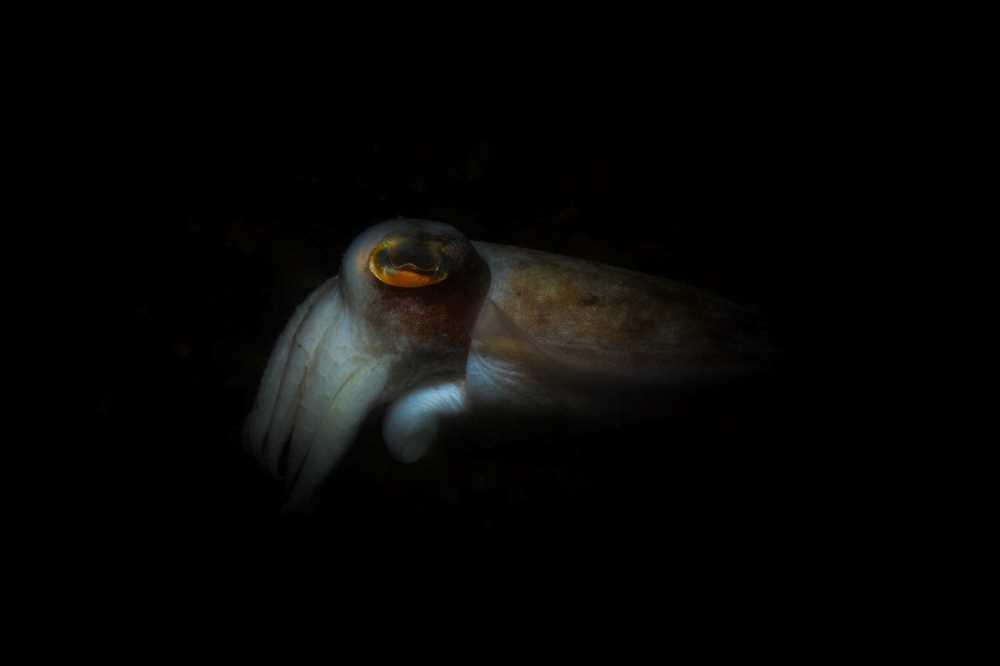
Underwater photos and videos you take during the day are beautiful. But, have you ever tried to take glow-in-the-dark underwater images and footage? It’s mesmerising and a great way to apply your underwater photo and video skills in a creative way. Taking fluorescent material underwater is a popular niche among underwater photographers and videographers. Here’s how you can take some breathtaking fluorescent photos and videos underwater.
Download FREE eBook featuring 40 proven fundraising techniques to finance your next overseas experiential adventure

UV/blue lights are essential
For fluorescent underwater photos and videos, you’ll need a UV light – sometimes also called a black light. Another option is a blue light, which is believed to pick up the fluorescence of sea creatures better. Many underwater photographers claim that blue lights make the fluoro subject glow brighter. You could also get some UV filters to attach to your existing strobe lights.
Some creatures fluoresce under this type of light due to the fluorescent photoproteins that their bodies contain. It absorbs light at a certain wavelength and re-emits it as another wavelength or colour. (In other words, it’s not the same as bioluminescence. This is when some creatures, like plankton, emit their own light in dark surroundings). The UV/blue light excites these photoproteins, which results in brilliant glowing colours.
Get a barrier filter for your mask and strobes
One of these filters is for your mask (also called a yellow filter). It helps you to see which creatures are fluorescing underwater. The other filter goes over your camera port, to capture the fluorescent colours in the scene in a photo. It blocks out the reflected blue light you’re using to light up the subject. However, it still allows the fluorescence through.
Be aware of night-time surroundings
Needless to say, you’ll have to do night dives to capture fluoro photos and footage. Night diving itself comes with a few challenging. For example: navigating underwater with minimal light. Or dangerous animals and precipices that you can’t see until you’re too close. Be aware of these conditions before doing a night dive, and always move with more caution in the dark. You wouldn’t want to kick too fast and damage some coral because you couldn’t see it in the dark. It usually works well to do a preparation dive during the day in order to get a feel for the dive site’s conditions.
The best locations to capture fluorescent photos and videos are hard coral reefs. Hard coral emits a brighter fluorescence than soft coral. You could also look for anemones or crabs in open patches of sand. Many animals and corals appear fluorescent green, so look for reds and oranges as well. Keep a lookout for the following as interesting fluorescent subjects: jellyfish, sponges, flatworms, frogfish, mantis shrimp, nudibranchs, fireworms, moray eels, and seahorses.
Adjust your camera’s exposure settings for fluorescent underwater photos and videos
Fluorescence is a result of re-emitted light. As a result, there is less light reflected back to the camera. So, your f-stop should be low, ISO high and shutter speed fairly fast. That is, if you have enough light to illuminate the scene). As always, the exact adjustments will depend on the environment. The strength of your strobe lights will also influence your settings.
Build professional skills as an underwater videographer on the tropical reefs of Southern Africa
For easier editing, photograph in RAW
Try to capture photos and videos in a way that won’t make you spend a lot of time editing. In order to get the best out of your fluoro images, shoot in RAW (if your can camera has the option). In post-process, you can then adjust the white balance, exposure and saturation to make the fluorescence pop. It will make the colours appear closer to the real thing you saw underwater.
Practise makes perfect
Capturing fluorescent underwater photos and videos is difficult to master. It’s a very specialised skill in the field of underwater photography and video. However, the more you do it, the better you will get. Using the lights, filters and camera settings will become second nature. Pro tip: fluorescent subjects look especially great in macro shots and footage.
Use these tips as your base for trying out the art of taking fluorescent underwater photos and video. You definitely won’t regret building this new skill. Fluoro photography and videography will let you see marine life in a whole new light (literally!). It will also bring a beautiful and intriguing element to your underwater portfolio.
Have you ever tried this cool style of underwater photography or video? Let us know about your experience in the comments below – maybe even drop us a link to your work!

Blogger Profile - Rouxne van der Westhuizen
Rouxne has an Honours degree in journalism and media studies. She specialises in wildlife conservation writing, travel journalism and blogging.
Kickstart your wildlife media career!
Find your perfect wildlife media speciality program

