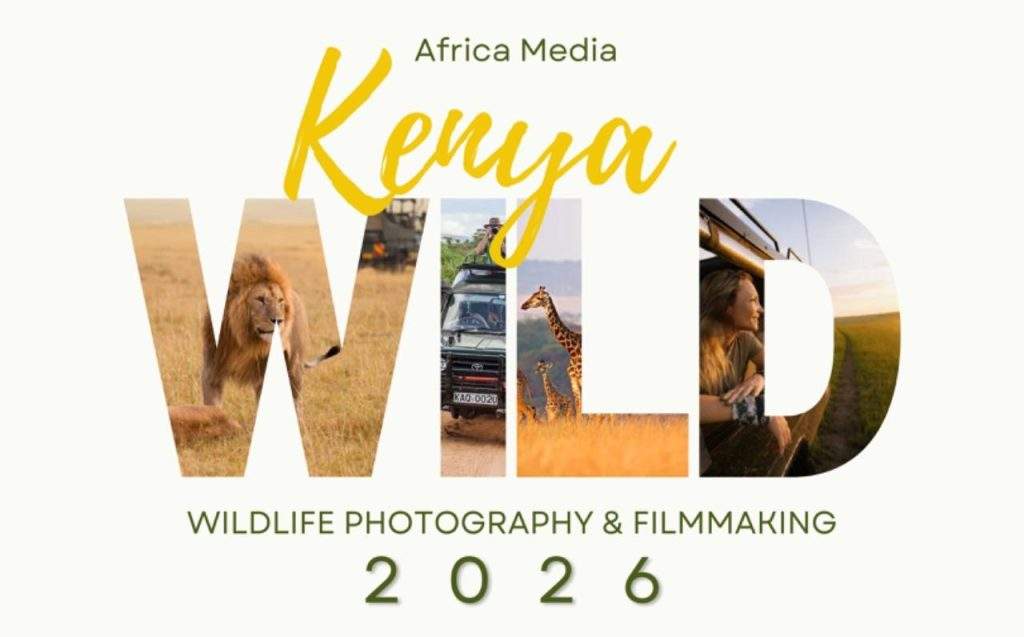
The Film-making Process
Whether you’re an aspiring filmmaker, or want to get an idea of how it goes, here is our take on the film-making process. With a pinch of the wild of course. In this article we will walk you through pre-production, shooting and editing – ending on a screen in-front of an audience.
If you give it a Google, Wikipedia describes the Film-making process as:
“the process of making a film, generally in the sense of films intended for extensive theatrical exhibition. Filmmaking involves a number of discrete stages including an initial story, idea, or commission, through screenwriting, casting, shooting, sound recording and pre-production, editing, and screening the finished product before an audience that may result in a film release and exhibition.”
The first step in the film-making process – Inspiration
Every movie you’ve ever seen first started with an idea in someone’s brain. This is the very foundation of the project although it may go through dramatic changes as time goes on this is the very core of the film. For our students they usually start with something they are passionate about. Agatha Jackson, as an example, was extremely passionate about giraffes. When she realized tat they were slipping into extinction she decided to make a film about it to raise awareness and get people talking. You can check out her film, Not a tall tale here. So, start thinking about the kind of story you want your film to tell. Then, all the important story elements like the who, the what and the how. Inspiration can hit anywhere. Head down to your nearest coffee shop, with a pen and paper or laptop, and get brainstorming.
Make yourself a google drive folder. Fill it with bookmarks, links, blogs, articles and other relevant resources to refer to during the film-making process. Its good to have them all in one place, you never know when you need them.
The second step in the film-making process – Scripting and story-boarding
The script is where you’ll put down the story, setting, and dialogue in linear form. Basically, writing down how you plan on rolling your story out. This tool is so the rest of the team knows what’s going to happen in the film. You’ll also be using your own script as reference since you may need to refresh yourself on certain actions, dialogue lines, and more. Even though wildlife is unpredictable we still always have a rough script and a story-board. We work off of them to ensure a good flow in our films.
Don’t be afraid to make changes to the script even after you think it’s ready. More often than not, better ideas will come to you well after this stage in the film-making process.
As a wildlife film-maker you have to improvise quite a bit. It’s surprising what your actors/presenters are able to imagine from their point of view. This is especially true for film-makers who may not be great with writing dialogue. Luckily for us lions and buffalo don’t speak much.
Next up, story-boarding which is a sequence of drawings that represent the shots you plan to film. We recommend this process because it helps you visualize each scene. Furthermore, decide on things like camera angles, shots, times. A story board is a communicative tool, it helps everyone else work towards the main goal accurately. Being a creative industry it can be hard to get everyone on the same page without physically laying it out.
You can refresh your story board later after you have scouted your location and add photographs to it – if your drawing skills aren’t so great.
AFFILIATE PROGRAM
Earn great income by joining Africa Media's affiliate marketing program
The third step in the film-making process – Casting
Assembling your team can be both exciting and nerve-wracking. We recommend you take as much time as needed to find the right people for your film. For crew members, be sure to consider their past work and experience, and request showreels or any examples if available. You should also hold auditions to find the best actors and actresses for your roles. In the wildlife industry we often incorporate guides and wildlife experts. The background checks for these individuals are important too, their information needs to be factual.
You can read our article on the essential crew for any wildlife film here.
The fourth step in the film-making process – Location, Location, Location
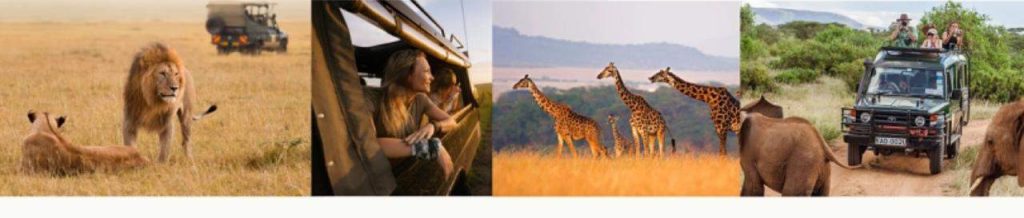
You may need to construct sets for a setting you’d like to have. But for scenes where an actual location will do, you’ll need to do some scouting to find the best spots. We take most of our footage on game reserves or protected areas and keep our ears on the radios for sightings so we often have to be flexible about this. Watering holes are great spots as a rule though because all animals have to take a drink at some point. Keep your eyes open for cool quiet spots for interviews too. If you are going to be shooting indoors make sure you keep the cameras in mind and not only the cast. Cameras take up a lot of space.
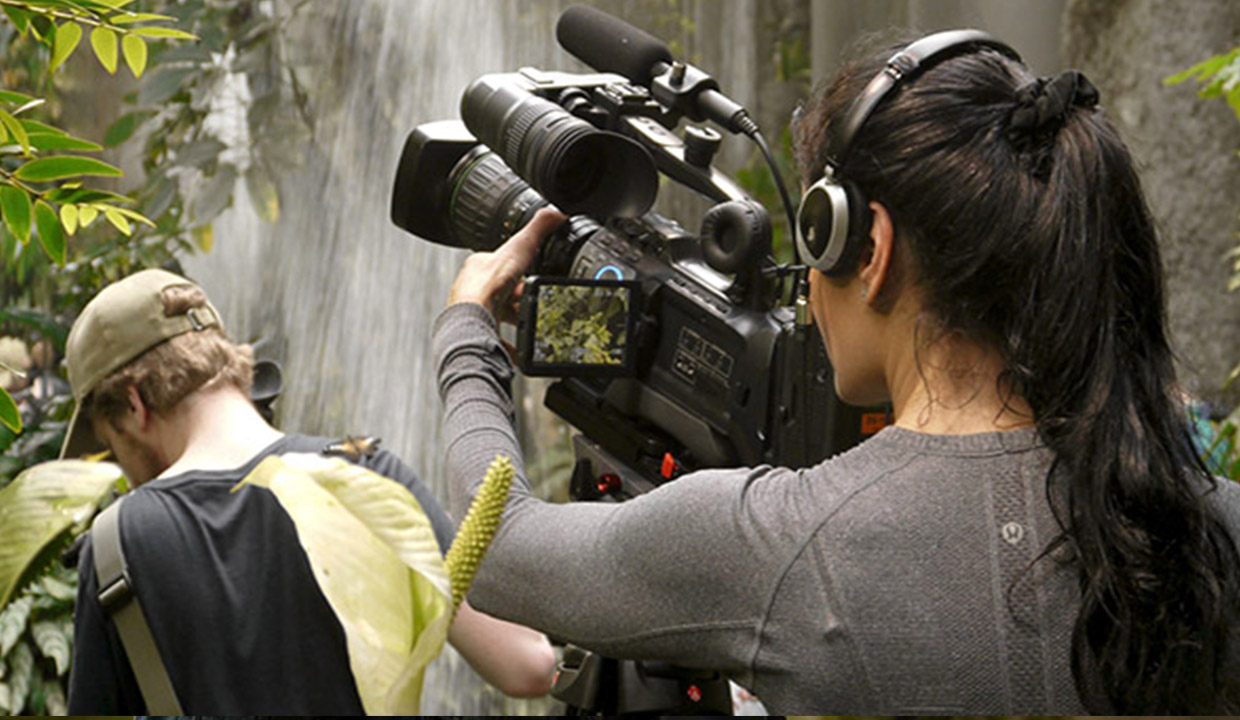
The fifth step in the film-making process – Film it
It all comes down to this. To prepare, be sure to have a shoot script ready along with an organized schedule of what will to film and when to film it. Give yourself plenty of time to shoot scenes so that you’re never rushed. Problems can pop up at any time and you have to give yourself room to be flexible. It’s common for a scene that will last one minute in the final cut to need more than five hours to film or much more. Especially in wildlife filming when your “actors” can’t be instructed to redo a roar.
If time permits, try filming the same scenes from new angles. This way, you’ll have more footage to work with that can keep your viewers engaged. B-roll is very important. You need filler footage to plump up a film or to be in place while there is dialogue but no specific footage for the speech.
The sixth step in the film-making process – Post production
If you thought filming took time, you were wrong. Post-production is when you edit all your footage to create a rough cut of the film. Once done with the rough cut, you’ll begin adding things like sound effects, music, visual effects, and color correction. Any computer-graphic visual effects are digitally added by an artist. Finally, all sound elements are mixed into “stems”, which are then married to picture, and the film is fully completed (“locked”). This process will require the use of editing software — if you’re not confident, feel free to find/hire an experienced editor.
Show it to people whose opinions you can trust. Get some critical input. Although hard to hear sometimes. It’s better that you find out what isn’t working now rather than when your audience is watching the final version.
The final step in the film-making process – Distribution
Your film is done! Now people need to see it. If you are an indie film maker you will submit it to film festivals or get it to a distributor to start screening it. Duplicate the film as required and distributed to cinemas for screening. Press kits, posters, and other advertising materials are published, and the film promoted. It may be wise to produce a short behind the scenes roll for promotion.
If you are passionate about wildlife and film, check out our wildlife film-making program. Join us next summer to produce your very own film in wildest Africa.

Blogger Profile - Robyn Green
Robyn brings with her a serious passion for people and animals alike. She also teaches a workshop called Social Media and the Independent artist. The workshop is aimed at helping freelance photographers, writers and film makers build their online presence.
Kickstart your wildlife media career!
Find your perfect wildlife media speciality program