ISO Explained – Photography for Beginners
These days, photography is a lot more complicated than pointing and shooting. In fact, if you look at a DSLR camera for the first time, chances are your head will start spinning from all the unfamiliar buttons and functions. Why are they all even necessary to take a photo? If you’re interested in pursuing photography and looking for the first steps to understand your camera, there are three important exposure settings you should know about first. They are: aperture, ISO and shutter speed. In this article, we shed some light on what ISO is and how to use it.
Download FREE eBook featuring 18 International scholarships to fund overseas experience travel
What is ISO?
ISO, explained simply, is the camera setting used to adjust the brightness of your photo. The ISO refers to how sensitive your camera sensor is to light. If the ISO is low, the sensor is less sensitive to light and the image will seem darker (and less grainy). The acronym actually has a whole history behind it. A common misconception is that it stands for “International Standards Organisation”, but this is actually not the case. Watch this video to learn more about the origin of the word:
Why is ISO important?
It gives you more freedom to shoot in both lighter and darker environments. Because the ISO adjusts your sensor’s light sensitivity, you can change the brightness according to the conditions. For example, you might be shooting inside where it’s dark, and then you can set your ISO higher. Outside, or in direct sunlight, you’ll have to bring it down. Otherwise, your image will just appear white (“washed out”) from too much exposure to light.
What should I do with it?
When you’re shooting in dark conditions or at night, your camera doesn’t have a lot of light to work with. Therefore, if you raise your ISO, it will make the scene seem brighter on the photograph and you can see the subject better. However, be aware that the higher your ISO settings are, the more grain your photograph will have. (The bottom right image below this blog is an example of a grainy photo).
How do I use it in the best way?
To adjust the ISO, you need to photograph in full Manual (M) mode or in Program (P) mode, where you have control over the ISO and the camera adjusts the shutter speed and aperture accordingly. If you’re shooting in darker conditions, you can use a higher ISO to brighten the image. However, it’s important to remember that a too high ISO can make your photo grainy. Rather use your aperture of shutter speed to brighten your image before you adjust the ISO too much. While some people use grain as a creative element to their images, it’s something you should generally avoid as a beginner photographer.
We hope you enjoyed this article on ISO, explained in a way that will hopefully help you to finally understand your camera better. Check out our other articles in the “Photography for Beginners” series, where we shed some more light on the camera functions of aperture and shutter speed. Aperture, ISO and shutter speed all contribute to the photograph’s exposure, and being able to use all three effectively takes a lot of practice. But if you get it right, you can start building an amazing photography portfolio.
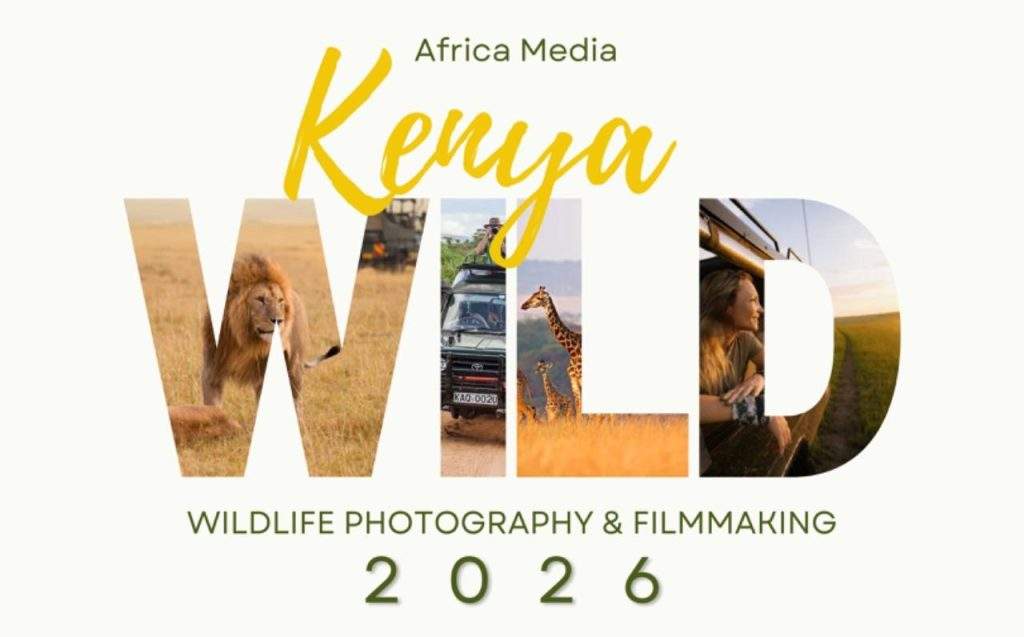
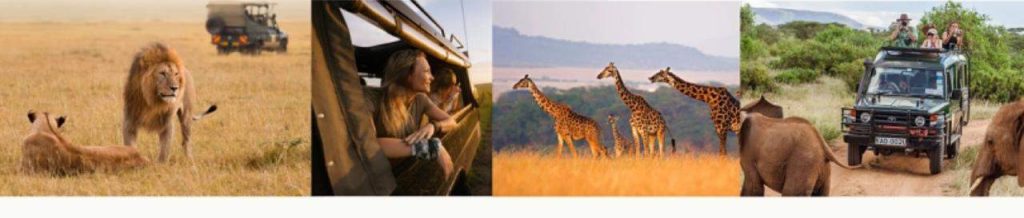
Apply your new photography skills to an exciting new field! Take a look at our Wildlife and Travel Photography program, as well as Underwater Photography.

Blogger Profile - Rouxne van der Westhuizen
Rouxne has an Honours degree in journalism and media studies. She specialises in wildlife conservation writing, travel journalism and blogging.
Kickstart your wildlife media career!
Find your perfect wildlife media speciality program